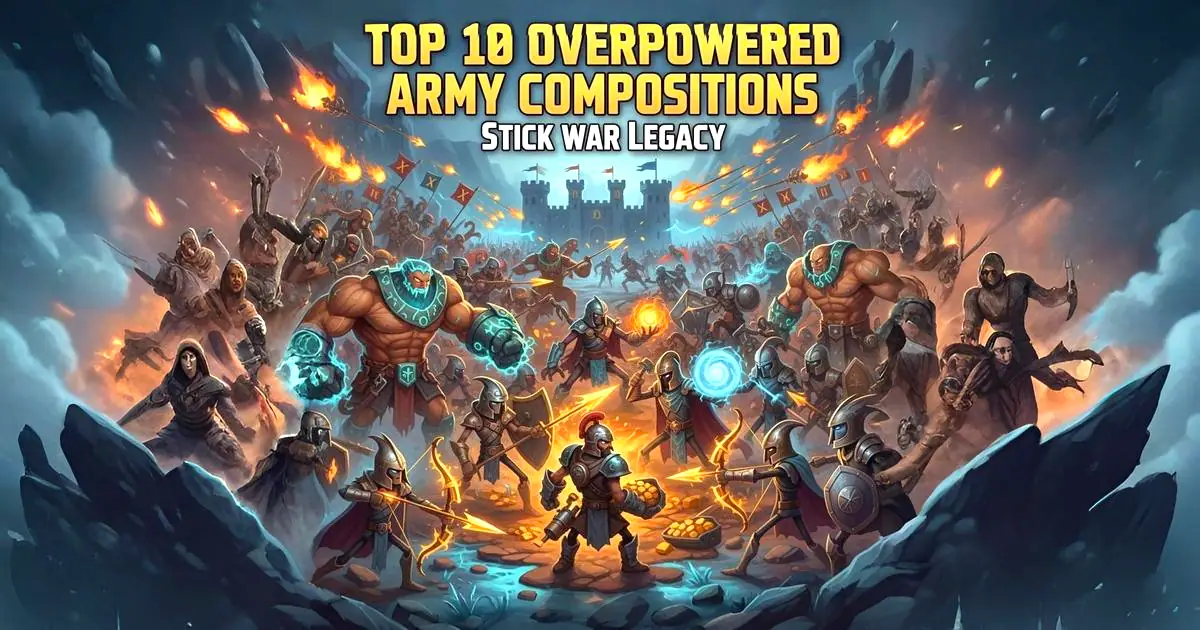
Top 10 Overpowered Army Compositions in Stick War Legacy
Top 10 Powerful Army Compositions in Stick War Legacy
In Stick War Legacy, victory is not about clearing out a few enemy units. It is about tearing down that giant enemy statue. If your current armies feel clunky or slow, you are doing it wrong. You need a perfect plan and a specialized army composition designed for one purpose that is statue rush.
Forget clunky armies; this is your guide to building a finely tuned, highly efficient war machine that guarantees a crushing victory. This guide gives you the Top 10 most powerful and efficient armies compositions for getting the job done. We shall show you the exact unit combos and strategy that the pros use to maximize their Damage Per Second (DPS) and finish the fight fast. Get ready to learn the secret unit combos and tactics the top players use to end games fast.

The Golden Rules of Statue Crushing
Before diving into the formations, remember the core principles of an effective statue-crushing army:
Top 10 Best Army Compositions in Stick War Legacy
These are the top 10 best army compositions, from classic, reliable builds to aggressive, statue-rushing powerhouses that will help you shatter the enemy’s pride and claim victory. After reading these powerful army combinations your strategic thinking will be increased. You will be able to take the right decision at the right time during the war. These army compositions ensure your victory against the enemy.
1. Immovable Object (Spearton/Magikill)
This composition considered to be the best among many and highly utilized for Campaign and Insane mode combines the best tanking and area damage-defensive units. Thus, the whole strategy revolves around making an unbreakable defense for the heavy hitters.
Composition
- Front Line (Tank): 1-2 Giants (with healing/vamp skin if available) or a great number of Speartons. These units are called the Unbreakable Barrier.
- Back Line (Core DPS/Defense): 4-6 Magikill (Mages). These are the primary units for Sustained AOE Damage.
- Support: 3-4 Miners (for gold income).
Strategy
Speartons (or Giants) form an unbreakable wall, using their shield stance to block all incoming projectiles and most melee damage. Behind this wall the Magikill spam their powerful chaos spells, dealing heavy area-of-effect damage to the enemy’s statue and all incoming units. A slow, steady, and nearly invincible Grinding Push.
2. Golden Archidon Rush (Archidon/Miner)
This is best implemented for the purpose of a very early economic advantage into rapid spamming of Archidons, which should then completely dominate with high numbers and range for damage against the enemy statue without being rebutted. This is a powerful rushing strategy for early-mid missions, when the enemy defenses are still weak.
Composition
- Front Line (Tank): 2 or 3 Swordwrath or Speartons. Their main purpose is to be Disposable Distraction Force.
- Back Line (Core DPS/Defense): 12+ Archidons. This massive Ranged Horde provides the heavy-weight damage output in the composition.
- Support: 8-10 Miners (Fully maxed for the hyper-economy needed to fuel the spam).
Strategy
Priority should now be on maxing Miners as fast as possible, sacrificing early units when necessary. Once the Archidon Swarm reaches a reasonable mass (12+), send them into battle with the distraction melee force up the side. Move the Archidons forward so that they’re just within range of the enemy statue, and immediately set them to Statue Sniper Mode. Use either the Freeze Spell or Bubble Shield to stop any melee units from breaking the distraction and getting to the archers.
3. Giant Steamroller (Giant/Meric)
This composition relies on the overpowering capacity of the Giants to walk through the enemy line and DPS out the statue, thanks to their massive health pool and self-sustainability. It works very nicely against armies that are not well-equipped with Magikill or whatever toxic units to bypass armor.
Composition
- Front Line (Tank): 4-5 Giants. The Primary Statue Smashers and the frontline tanks.
- Back Line (Core DPS/Defense): 2-3 Meric (Healers). Indispensable for the constant Healing Stream that keeps the Giants alive.
- Support: 5-6 Miners (to sustain the expensive upkeep of the Giant) and the Rage Spell for a final push.
Strategy
Start the ramp of Giant production and replace any Giants that fall instantly. Aggressively cast all Giants into Defensive Mode to attack the enemy units. Position the Meric slightly behind the Giants yet within healing range. The sustaining power of the Meric makes it almost impossible to take out the Giants. Once the Giants reach the enemy statue’s base, the Rage Spell will crush the objective with an insane burst of immediate damage, killing it almost instantaneously.
4. Pure Swordwrath Bloodbath (Swordwrath/Rage)
It is a good low-cost aggressive army for quickly flooding the enemy with sheer numbers, and it will be especially effective on maps where the opponent does not have a heavy area-of-effect defense. It relies on building units and suddenly attacking for decisive outcomes.
Composition
- Front Line (Tank): 20+ Swordwrath (or max population capacity). This is the Massive Melee Swarm.
- Back Line (Core DPS/Defense): Purely melee pressure only.
- Support: The Rage Spell (Absolutely critical for the Frenzy damage burst).
Strategy
Focus entirely on pumping out Swordwrath and saving for the Rage Spell. Position the entire Swordwrath Horde just outside enemy range. Once everything’s ready, issue the attack command and cast Rage immediately as they engage. This creates the conditions for huge temporary damage allowing the low-cost wave to breach enemy defenses and melt the statue before that enemy can respond or reinforce lost units.
5. Shadowrath Assassination (Shadowrath/Decoy)
An extremely dangerous method that completely depends on the stealth mechanism to ensure a fast win, usually used during late tournament maps or against strong defensive nations. It is high risk and high gain.
Composition
- Front Line (Tank): 3-4 Swordwrath/Speartons. Their only role is being a cheap, loud Decoy.
- Back Line (Core DPS/Defense): 5-6 Shadowrath. Primary Invisible Damage Unit for an accurate flanking.
- Support: The Rage Spell (Key for the final assassination burst).
Strategy
Send the Swordwrath in as Decoy Force to pull the main enemy army into the center. At the same time, micro-manage the Shadowrath around the far edge of the map, even stopping them briefly if needed in order to activate invisibility. Once the Stealth Damage Team reaches the statue, cast Rage Spell at once and send them to attack. This will cause a massive and sudden burst of damage that results in an instant execution victory before he can ever respond.
6. Barrage of the Toxic Bomber (Toxic Dead/Bomber)
It is a specific combination which consists of two high-impact units in the form of conditions and localized explosions. It works best to break tight formations, as well as for persistent, long damage over time.
Composition
- Front Line (Tank): 5 to 7 Toxic Dead. Form the Poison Wall debuffs against all melee attackers.
- Back Line(Core DPS/Defense): 4-5 Bombers. The bombs provide the Localized-Damage AOE and the disruption.
- Support: The Toxic Spell or Electric Spell which maximizes status effects and cleans clusters.
Strategy
Toxic Dead have to engage the front line of the enemy by weakening incoming units. Bombers are kept slightly behind the Toxics and the Throw Bombs Command is called on dense enemy infantry or high-value targets. Therefore, the battlefield is constantly being disrupted, and it becomes impossible for the enemies to keep a strong push while simultaneously holding the line with Toxics and Bombers being bombarded at the statue.
7. Kai Rider Air Strike (Kai Rider/Spearton)
A composition that utilizes the Kai Rider’s ability to fly over all terrain and units, ignoring ground traffic, while the Speartons secure the objective below. It targets units or statues quickly and specifically.
Composition
- Front Line (Tank): 6 Speartons. Used for ground control and blocking enemy advance.
- Back Line (Core DPS/Defense): 4-5 Kai Riders. The Flying Statue Killer that outruns melee threats.
- Support: The bubble shield to stop ranged attacks onto Speartons.
Strategy
The strategy is to use Speartons in Shield Stance to form a solid line near the enemy base while making it look like the main army is attacking. Then, send the Kai Riders over the top, directly to the enemy statue. Their sheer mobility will allow the Kai Riders to form the conflict and deliver nice, fast, continuous damage to the objective. Hold the line with the Speartons until either the air assault does its deed, or use them to clear any remaining ground units after the statue is down.
8. Order’s Might (Mix of All Order Units)
A real flexible build starting from mid to late game. Here every advantage of every non-specialized Order unit is put forward to cover all tactical disadvantages. Requires more micro-management but tends to become very sturdy.
Composition
- Front Line (Tank): 3 Speartons + 2 Giants. Provides mixed resilience against various damage types.
- Back Line (Core DPS/Defense): 4 Archidons + 2 Magikill. Offers balanced ranged and AOE Fire.
- Support: 1 Meric (Essential for targeted healing) and the mass heal spell.
Strategy
Layered defense allows Speartons and Giants to absorb damage most efficiently. Archidons will take care of single eminent threats (like the enemy Magikill or Kai Riders) while Magikill provides an area of effect support against swarming. The Meric should be maintained to heal the Giants primarily. This composition relates to having good micro-management between defense and offense, making sure that every type is targeting its proper threat.
9. Toxic Dead (Dead Zombie Spawn Attrition)
This strategy works wonders against the Endless Dead Mode or when using the Dead Miner Skin upgrade to turn resources into pure offensive pressure at no cost. It is all about grinding an opponent’s resources to zero.
Composition
- Front Line (Tank): 8-10 Toxic Dead. Self-sustaining, Infectious Front.
- Back Line (Core DPS/Defense): 4 Archidons (For statue damage).
- Support: The Toxic Spell and the Dead Miner Skin upgrade (Very much needed for free unit generation).
Strategy
It is an attrition. The poisonous and HP rich Toxic Dead forms, a formidable barrier. With every dead miner or enemy unit, a free Dead Unit is spawned (especially with the skin), granting recycling of the army within the battle. Archidons give the necessary Statue Damage; and Toxic Dead units ensure that the enemy constantly contends with an overwhelming, self-reinforcing horde.
10. Griffon’s Guard (Hero Centric Push)
The idea of this push strategy is to have one strong hero (like Griffon the Great) upfront in the push while using this hero’s massive powers and capability to easily overcome the defenses. It is best used in either the Tournament or Custom game modes.
Composition
- Front Line (Tank): Griffon the Great (or your strongest Hero). The Apex Tank and DPS.
- Back Line (Core DPS/Defense): 4-5 Speartons (to guard the Hero’s flanks).
- Support: 2 Meric (dedicated to keeping the hero alive).
Strategy
Lead the entire force with the Hero in the forefront, drawing all the enemy attention and damage to him. The Speartons serve as the Bodyguard Detail, protecting the hero from being overwhelmed by low-cost melee units. The Meric provides essential continuous healing to keep the Hero alive. Focus the Hero’s special on clustered enemies or high single-target damage on the statue, pushing through pure Heroic Power.
Final Words
In Stick War Legacy, breaking an enemy statue is less dependent on the strongest individual units and more dependent on forming the appropriate army composition at the right time. Now you do not have to depend on luck anymore; you have the technique to create an army for all challenges. It could be simple strength of Archer Swarm, the utter chaos of the Savage Swordsmen, or the smart healing provided by the Meric team; whichever is chosen as the way to go, mastering the strengths of the chosen army, flawless unit control, and sticking strictly to the game plan are the essential success factors.
Stop playing defensively! Choose one of these powerful army compositions, practice the attack, and push hard until you see that enemy statue crumble. Go out there and make the final blow count.